Most Unless component templates consist of a combination of text, images or videos, a CTA button or two, and an email field. Custom components with additional fields can also be built by Unless or your developers.
However, if you would like to conduct more extensive surveys, collect feedback, or check on your Net Promoter Score (NPS) using a third party service like Typeform, that is also possible.
You can then easily show these forms in your product or website with our embeddable form components. And with Unless' additional functionalities you can specify who you want to show the forms to, where you want them placed, when they should get triggered, etc.
How to set up a form embed component
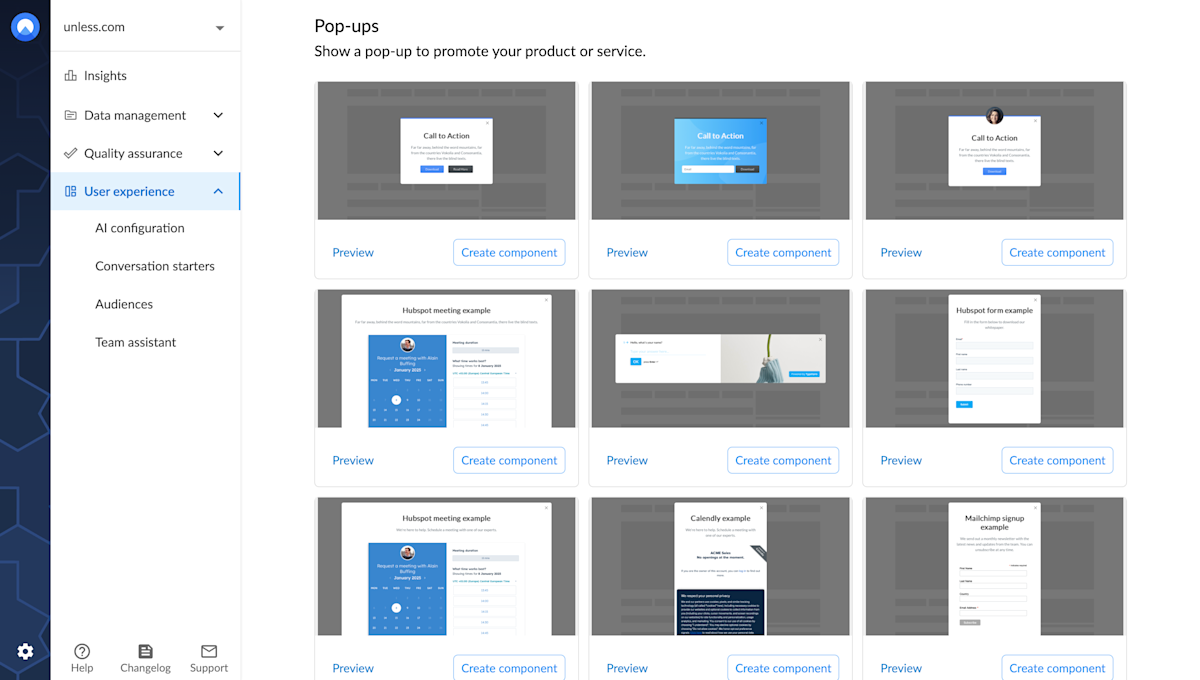
First step as always is to choose a component template. Via the Components tab, you can view the complete library of components that are ready out of the box. Most form components fall under pop-ups and side-boxes.

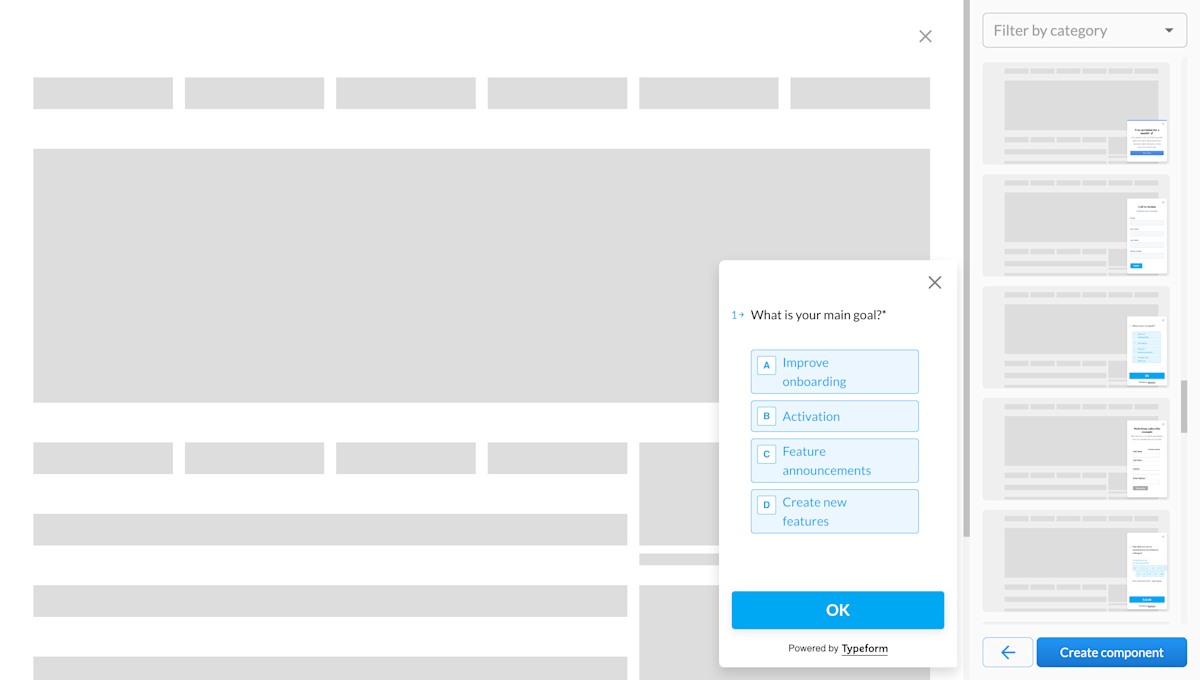
You can preview the different components before choosing the one you want to use. You will notice a combination of native Unless components as well as embeddable form components that work with Calendly, Hubspot, Mailchimp, and Typeform. Once you've made your choice, click Create component to get started.

Note: If you would like to use a form from a different third party service, let us know!
Component settings
This will take you to the Settings tab. You might notice that the settings for a component are very similar to on-site experiences. You give your component a name, define the page(s) it should appear on as well as the audience(s) that should see it.
Form components can be inline or overlays. For overlays there are some additional settings available like when the component should appear so that is good to keep in mind.
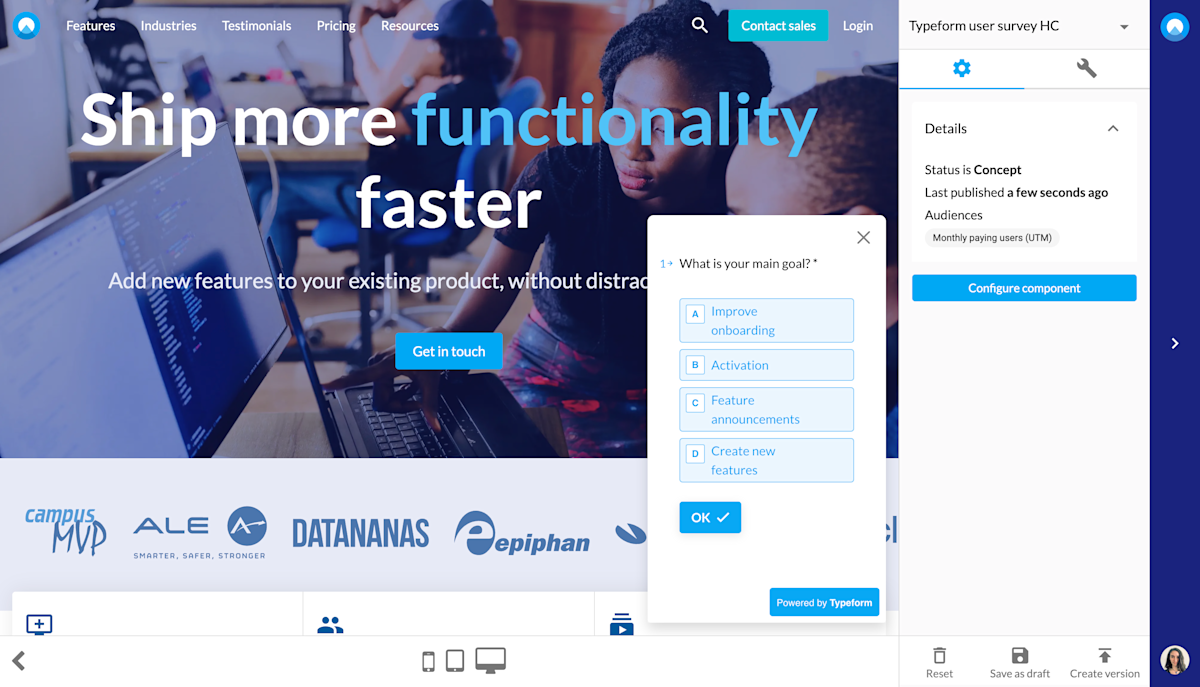
After adjusting the settings, first click Save and then click Open editor. Once you are in the editor, as in the example below, you can click Configure component.

Overlay component design
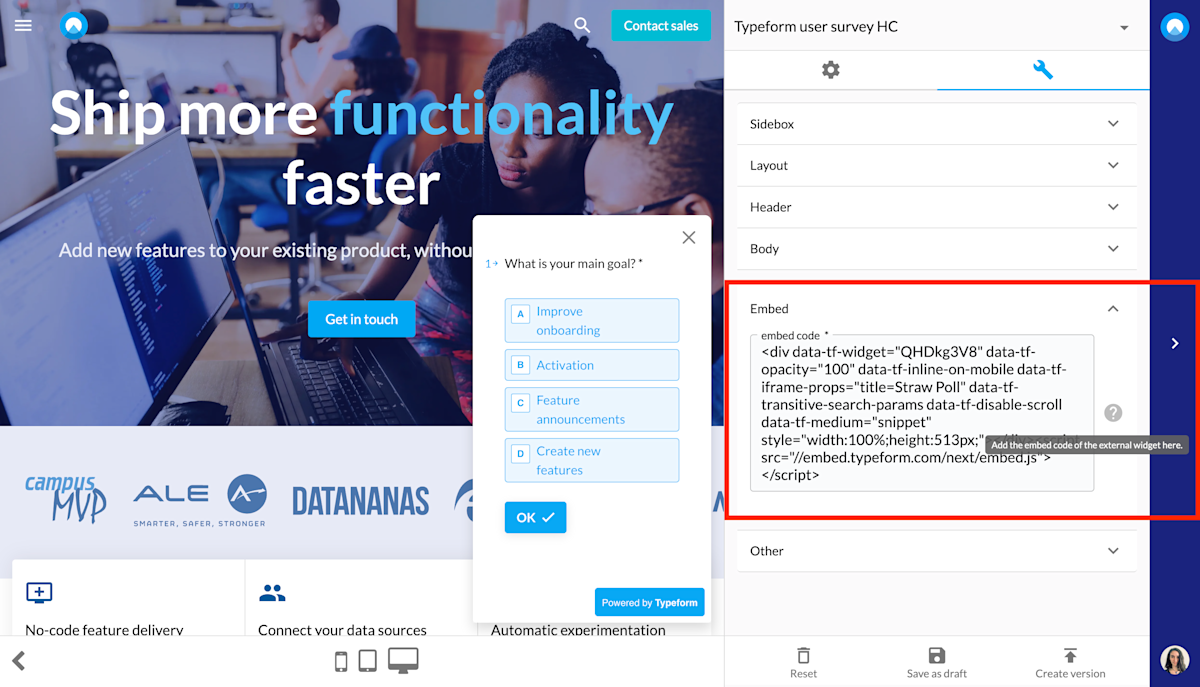
First thing to do with any form embed component is to get the embed code and paste it in the Embed field within the Unless editor. Below is a screenshot of what that looks like.
Most services like Typeform and Calendly have help center articles that explain how you can find this code in their product. And don't worry if you're not a developer, all you have to do is simply copy and paste. Your form will then appear in the editor, within an Unless component.

Generally, Unless components are very versatile. You can use your brand themes and the various options within the editor to adjust your content and designs.
If you would like to add a header and body section to provide context for your form, that is possible here. However in the case of embeddable form components, the design is coming from the third party service. So any changes you'd like to make (like color changes, adding an extra question, etc.) will have to be done via their product.
Once you've made all the changes you need and your component is ready, make sure to save, create new version and publish before exiting the editor. Then click start experience at the Settings tab for this component which we've seen earlier.
Ps. Did you know you can link multiple experiences to each other? For example, you can have a bar component that asks your users if they'd like to take part in your latest survey with two CTA buttons for Yes and No. If the user clicks No, the component is closed. If however they click yes, they can then see a component with the embedded form.


